Guide to installing ACO StormBrixx® systems
The information on this page should be considered as general advice only. ACO offers this guidance in good faith and if in doubt, engineering advice should be sought. Installation dimensions and methodologies will vary by site. Local ground conditions and council design requirements should be adhered to.
Step 1
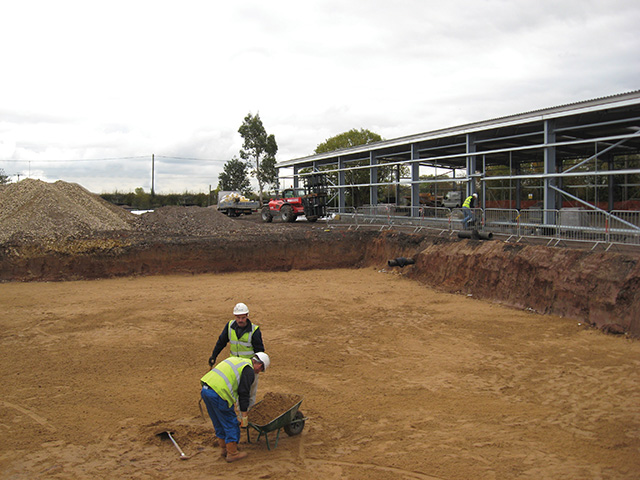
Excavate hole, or trench, to required dimensions to accommodate ACO StormBrixx® tank. Allow additional 300mm on all sides for access, necessary pipework and any inspection chamber(s) and/or silt trap(s).
Step 2
Ensure base of excavation is flat, level and capable of withstanding required design loads, angle sides of excavation to prevent collapse, and ensure safe access/conditions for site workers.
Step 3
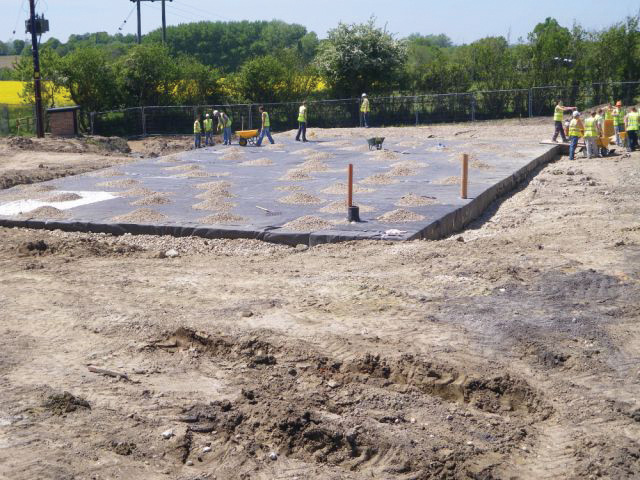
Lay 100mm compacted bedding layer for retention/detention systems or 100mm coarse sand for infiltration systems.
Step 4
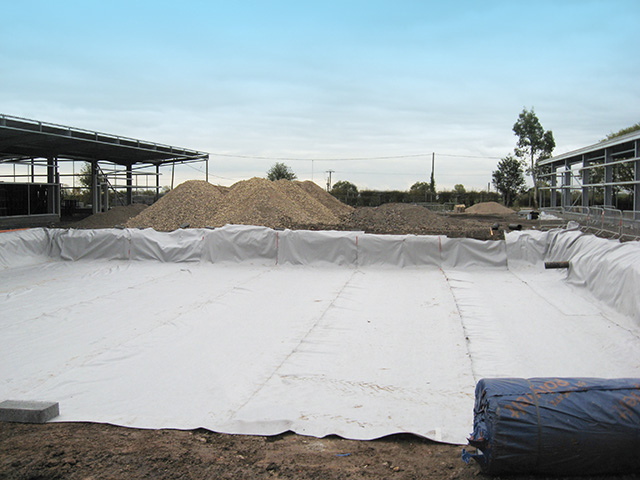
Lay geotextile along the base and sides of the excavation with minimum 300mm overlap at joints.
Step 5
For retention/detention tank lay geomembrane on top of geotextile.
Note: infiltration tanks do not require geomembrane.
Step 6
Assemble StormBrixx® units to required size and configuration and place on geotextile or geomembrane. Ensure loose units are fixed together using layer connectors.
Step 7
Form hole(s) in side panels using hole saw/jigsaw to receive pipe (inlet/outlet/inspection/vent pipe as required). Fit side panels and pipe connectors. Ensure top covers are installed on the top layer of the tank.
Step 8
Carefully cut geotextile and/or geomembrane around pipe protrusions. Seal geomembrane around pipe connections. Test joints for leaks.
Step 9
Continue wrapping the tank with geotextile and/or geomembrane.
Step 10
Connect inlet/outlet/vent pipe and access chamber/access plate with rising shafts. Only one DN100 vent pipe is required per 7500m2.
Step 11
Backfill evenly around excavation sides using sub-base or selected granular material in layers of 150-300mm and compact.
Step 12
Use a 100mm minimum coarse sand protection layer over the top of the tank and then backfill. There should be a minimum 500mm backfill cover before compaction equipment is used.
Step 13
The area should then be compacted using suitable compaction equipment.
Step 14
Complete the pavement construction or landscaping over the ACO StormBrixx® tank.
Prior to final surfacing, tank area should be fenced off and traffic prohibited from using the area above the tank. ACO StormBrixx® is not designed to withstand loads from construction traffic.